Are you curious about what 3-part cards in Montessori are? Here we’ll talk about why they are used instead of flashcards, how they are used, and printable classified cards you can easily download and use at home!
What are Montessori 3-part cards?
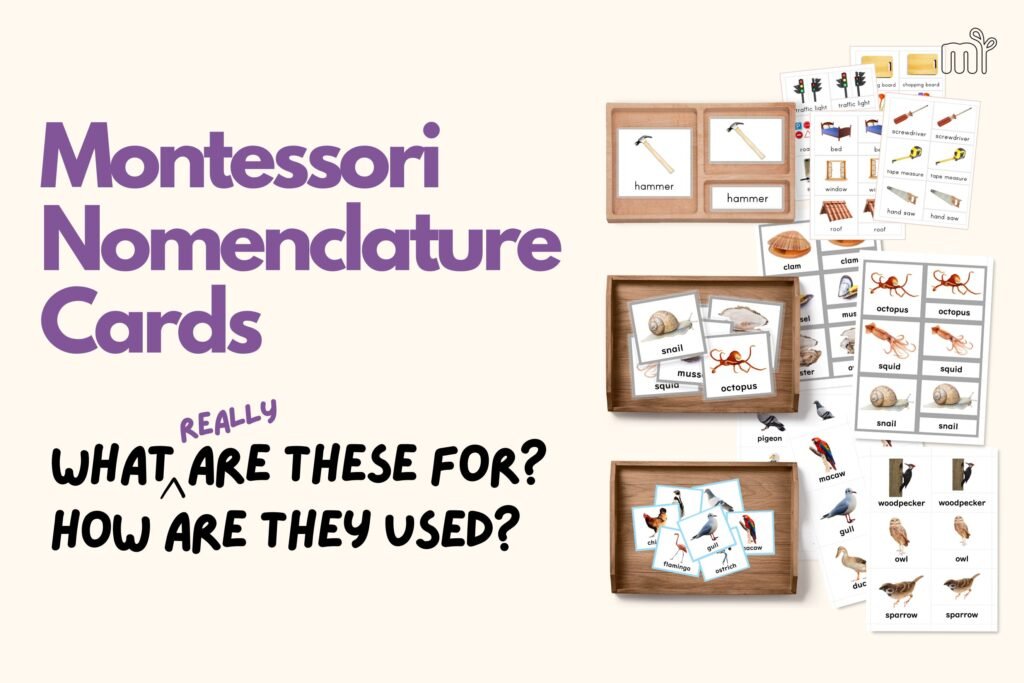
Montessori 3-part cards, also known as nomenclature cards, are an essential tool used in Montessori education. They consist of three parts: a picture card, a label card, and a control card.
The picture card displays a clear image of an object or concept, while the label card provides the name of the object or concept. The control card has both the picture and label on the same card.
For further learning, definition cards are added which include a definition of the object. This then are called 4- or 5-part cards.
What are Montessori nomenclature cards used for?
Montessori 3-part cards are used in various subjects, including science, history, geography, and language.
In primary level (ages 0-6), these cards are a versatile and effective tool that help children establish already-familiar-but-fresh words and concepts. These cards help children develop language skills, practice reading, and increase their knowledge of the world around them.
In elementary level (ages 6+), Montessori nomenclature cards are used to review concepts, with an invitation to create one’s own booklet or chart to make the work one’s own with one’s own definitions of the terms.
It’s important to note that Montessori nomenclature cards are not teaching tools, but rather a review of concepts and reading or vocabulary practice.
How about “Classified cards” – what are they?
Classified cards are similar to Montessori nomenclature cards but particularly used to help children classify various aspects of the world around him/her.
These are cards with pictures of everyday things that children are familiar with, such as food, transportation, plants, animals, buildings, and furniture. Each card usually shows only one object pictured clearly with minimal background.
So, these classified cards are best for kids between ages 3 and 6. But, you can also use them for older kids to teach some more interesting words and classifications. As they get older and explore the world in new ways, more cards can be added that follow their interests.

What are the benefits of using Montessori nomenclature cards?
Using Montessori nomenclature cards (instead of worksheets) provide several benefits, including:
- A hands-on, interactive approach to learning
- Encouragement of independent learning
- Enhancement of memory and concentration
- Promotion of critical thinking and problem-solving skills
- Fostering of a love of learning
When used properly with enough foundation of a variety of real experiences and other preliminary learning (such as sound vocabulary, spoken language experiences, exploration of sounds with sound games, and use of all sandpaper letters and then the movable alphabet), the child can move into whole reading rather quickly.
How to use the Montessori nomenclature cards
We introduce vocabulary with the picture-only cards after the children have had real experience with the items represented in the pictures.
Then we add the words as they learn to read, to give them familiar items to match up with the sounds they are learning. (The children should already be writing these sounds as they should write before reading.)
Before introducing the definition cards, we read the definitions via the booklets or at least describe the terms in their context of real-life experiences. When the children start reading, they find familiarity in the definitions with what they already know.
We then add the definition cards as they become stronger readers, to provide them more reading practice on definitions they already know.
Presentation of the cards is done using the three-period lesson.
Presentation 1: Using the Picture Cards
- Choose a set of cards and place them face down in a pile. Turn over the top card.
- Ask your child if they know what it is. If they do, put it face up on the mat in a column.
- If they don’t know, tell them the name (“This is a ____”) and put it on a separate column, then turn the next card over.
- Keep going until all the cards are laid out.
- Take up to 3 of the cards your child doesn’t know, tell them the name, and give them a simple direction using the name. This is also the Part 2 of the Three-Period Lesson. For example,
- “Can you give me the hammer?”
- “Point to the traffic lights.”
- “Where is the apron?” Between each direction, you can move the cards around.
- “Put the window here (pointing on the mat).”
- or on top of the head, under the chin, behind your back… Make it fun!
- If your child can identify the cards correctly most of the time, move on to pointing to one at a time and ask “What is this?”
- Invite your child to mix up all the cards again and put them out, saying the name of the picture.
- You can also talk about the pictures, giving interesting information. For example,
- “We use the hammer to flatten the nails on the wood.”
- “Traffic lights have three colors and each means differently.”
- “Aprons are used to protect your clothes from being dirty, like when we cook.”
Presentation 2: Using Picture Cards, Labels and Control Cards
- Show your child a picture and ask them to name it.
- If your child doesn’t know the name, show the corresponding label.
- Ask your child to match the label to the picture.
- Repeat this process with each picture and label.
- Once your child matches all the cards, give them the control cards (cards with both the picture and label) and ask them to match them to the corresponding sets.
- Help your child check that all the labels match the correct pictures.
- Finally, mix up all the cards and repeat the activity with your child.
Try these with your little ones:
FREE Classified Cards
Perfect for young kids to start with
- Around the City
- Around the Home
- Around the Kitchen
- Home Repair Tools
Get these for FREE in our resource library or here:
Vehicles 3-Part Cards and more
Animals 3-Part Cards and more
Vertebrates & Invertebrates 5-Part Cards & Booklets
Parts of the Plants 5-Part Cards & Booklets
Here’s some instructions for if you need help with preparing these.
Let me know if this has been helpful and how you’re using it in your homes. Tag me on IG @MindSproutPH 🙏 and follow for more like this!
