The graphic symbols of letters (ABCs) are only introduced once the child has achieved phonemic awareness, at around 3.5 years of age.
In Montessori, the material used for this is called the Sandpaper Letters. These are the key to entering the world of written language.

The sandpaper letters or variations thereof (DIY) help the child to associate the sounds with the symbols through visual, auditory, tactile, and kinesthetic senses.
Tracing the letters provides them muscular experience which is helpful in knowing how to write.
How to Introduce the Letter Symbols
Materials
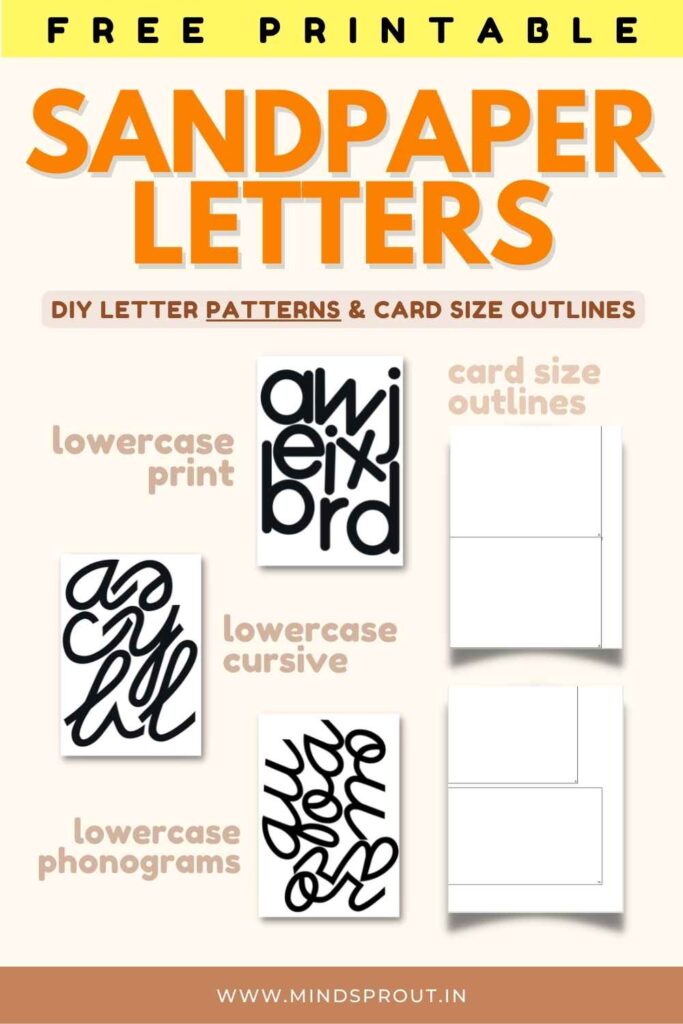
- Lowercase cursive alphabet sandpaper letters on thick cards or wood that match the colors of the movable alphabet (consonants on pink, vowels on blue, phonograms on green).
Check our DIY tutorial and FREE templates here.
Cursive is preferred to begin with over print since its continuous flow is more natural and easier to form. When the child is already familiar with the names of the print letters, the adult can initiate new association of the cursive with the sounds. It also eliminates confusion between letters such as b and d.
- Sensitizing tray with small pitcher and bowl and sensitizing cloth (for feeling the surface better)
- Tray to carry the letters (three at a time)
Presentation
1. Invite the child, showing where the materials are located.
2. Choose three letters (one vowel and two consonants) which are not closely similar in shape and sound. You can choose letters from the child’s name or interests. Show him how to carry them to the table. The letters are always presented at a table for proper writing posture.
3. “Do you remember the sound ‘a’? Can you think of a word that has the sound ‘a’ in it? Would you like to see what ‘a’ looks like? (ask with much interest and excitement)

4. Hold the card with one hand. Trace the letter with the index and middle fingers of the writing hand from the starting point to the end. Say the letter sound when you reach the end.
5. Trace and say the sound again, inviting the child to watch.
6. Invite the child to repeat. If she does not say the sound at the end, say the sound and encourage her to do so. If she does not begin at the right point, ask her to watch you again and see where you start.
7. After the child traces it and sounds it, put the letter face down.
8. Repeat with the other two letters.
9. Turn the letters up and give a three-period lesson. Trace the letter every time it is identified in the second period. In the third period, have the child trace each letter and say the sound.
10. Return the materials.
Encourage the child to learn the other letters at another time.
Read more: Important AMI notes for presentation & Extensions
If this article has been helpful, pin it and share the link to your friends. TAG @MindSproutPH in your IG stories and receive special discount at our store! 🧡
